Lists are indispensable in my life. They keep me sane as a collector by allowing me to categorize what I have vs. what I want. My favorite tool, Discogs, has another handy feature that will become extremely useful this holiday season, the Wantlist. With a little configuration, you’ll get a daily email containing purchase links to albums available from Discogs sellers making it really easy to fill gaps in your collection or provide specific information to gift-givers. Stack the odds in your favor and collect a bountiful harvest of albums to start your new year off right.
The first step is registering as a new Discogs user. If you’ve not done so already take a look back to May’s article on cataloguing records, which will help you understand the steps ahead.
Logged in? Okay cool. You should immediately notice a tab at the top of the page titled “Wantlist”, that’s what we want. Clicking the link brings us to a new page, which is populated with all of the albums chosen via in-site links that are identified as wanted. (Your list will be empty if you’re a new user). Adding to the list is really simple.
For instance, let’s say I’m looking for the recent reissue of the Blade Runner soundtrack by Vangelis. In the top-right portion of the page you’ll see an “Add to Wantlist” button. Click and done; unless you want to leave a some notes for yourself or others and possibly share it to your social networks.

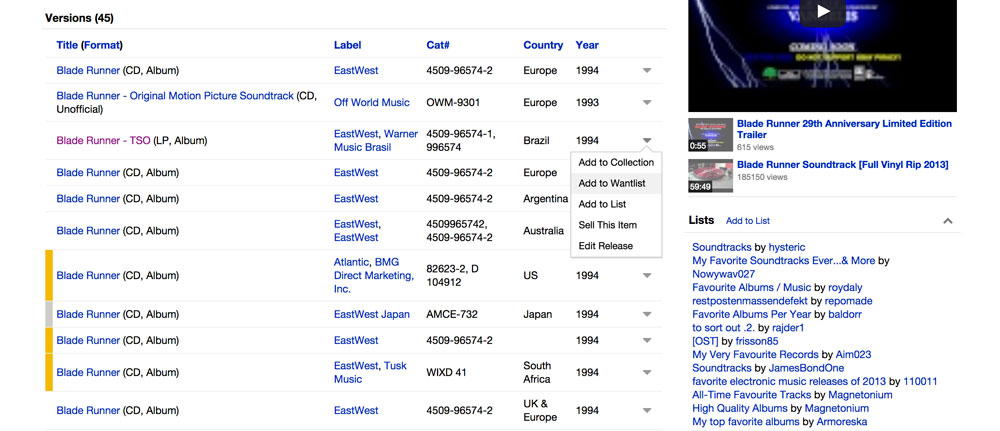
Alternatively, maybe you want the Brazilian pressing from 1994. No problem, since there are two ways to add albums to the Wanlist. If you navigate to the master release page for the Blade Runner soundtrack, we have a nicely organized list of every pressing (including formats other than vinyl) released thus far. At the far right of each release, following the Year column, a small triangle appears; this is a menu icon that provides some important usability including adding a release to your Wantlist. Click the icon once, an expanded list of options appears and from here choose “Add to Wantlist”.
Immediately you should notice a small red icon with the number 1 appearing next to the album you selected. This is just a helpful way of showing you albums already in your Wantlist.
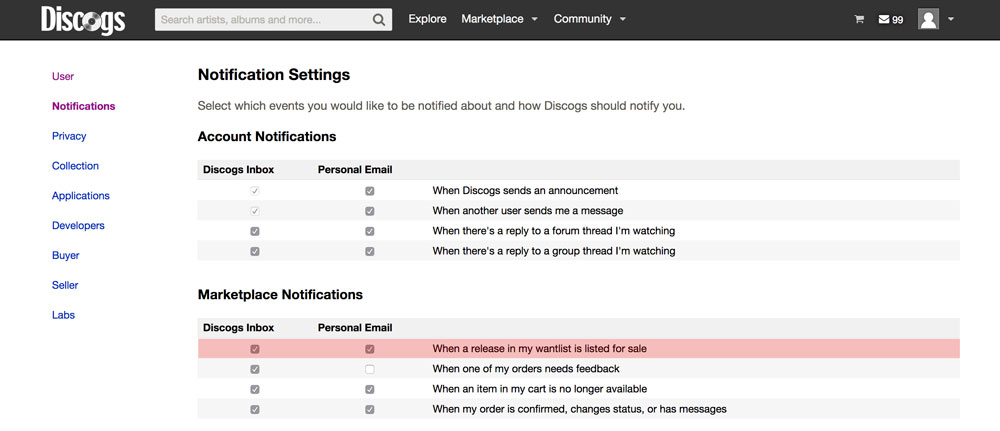
The last step to ensure your email digest of Wantlist albums arrives daily is to ensure your notification options have been configured properly. These options are largely up to you, but in order to have the convenience of email notifications, make sure to enable “When a release in my Wantlist is listed for sale” email me either at my Discogs inbox or my personal email address.
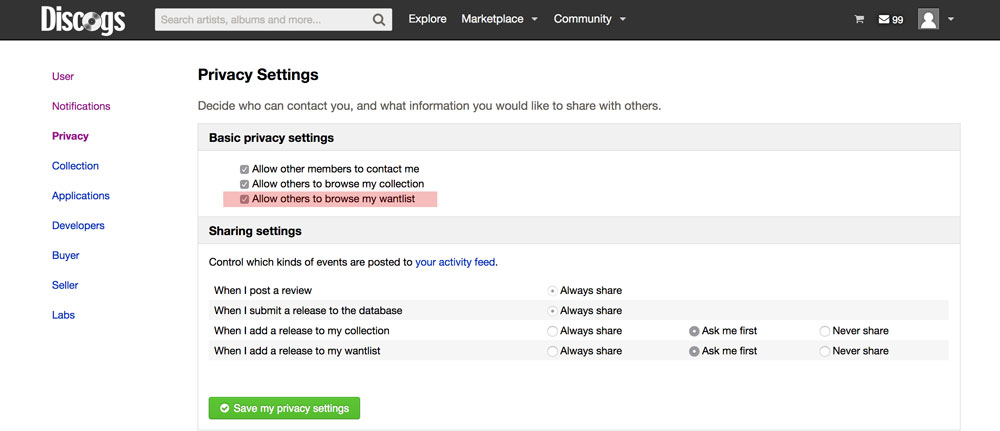
Finally, review your privacy settings. Your Discogs account can be completely private but that means your catalogue and Wantlist will not be viewable by other users.
That’s it. Tomorrow, I will receive an email, similar to the one below, that shows me every seller on Discogs with a copy of the album in my Wantlist available for purchase in the marketplace along with a list price and link to buy.
Featured Image by andymag via Compfight cc
45rpm: An Introduction Next Post:
Direct to Disc Recording


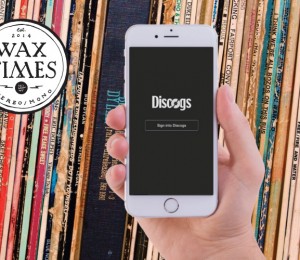
[…] provides a seamless experience after logging in. Collections and wantlists are synced, both of which can be updated on-the-fly. Swiping right reveals an offscreen menu giving […]