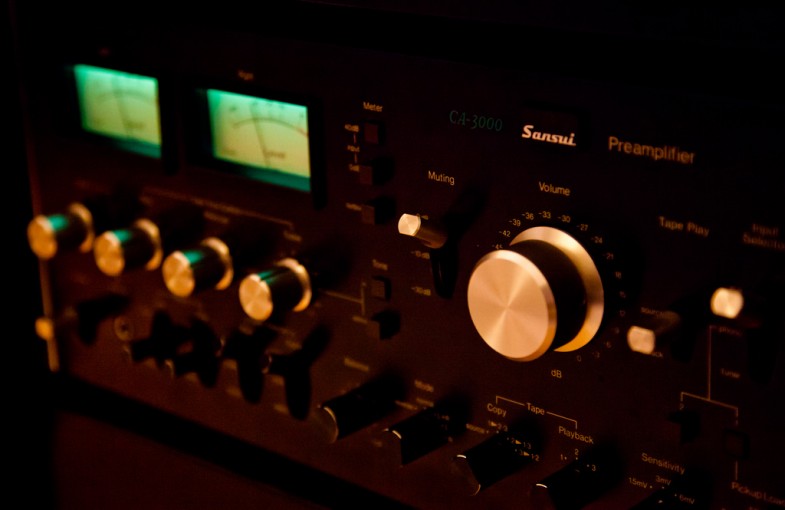
A basic HiFi setup consists of 3 items: a receiver or integrated amplifier with a phono preamp or separate phono stage, a turntable, and a pair of speakers. Understanding what each piece of the system does makes this setup easier to understand and provides you the information needed to research or integrate different components together into a complete system.
Amplifiers/Receivers
In most cases, turntables cannot be directly connected to a pair of speakers, they need a device in between to process and amplify the sound. Receivers (which are most common) combine a power amplifier with a preamplifier and radio tuner. Integrated amplifiers combine an amplifier and preamplifier without a radio tuner. You can also keep everything separate by running independent amplifier and preamplifier units.
Watts
This basic unit of measurement explains the maximum amount of power that can be expected from an amp cranked up to…11. The more watts, the more power.
Phono Preamp or Phono Stage
A phono stage is often a component inside an integrated amplifier or receiver while a phono preamp exists as a separate piece. The choice becomes more important for those interested in controlling every portion of sound reproduction as much as possible. Many currently available receivers do not have a phono stage incorporated, so purchasing a preamp separately is required. Some modern tables have a built in phono preamp, eliminating this problem altogether. Determining the presence of a preamp on a piece of equipment is easy; turn it around, look for round inputs that are usually labeled phono and that’s it.
Manuals and documentation for some equipment can be found at HiFiengine.
Turntables
Two types of turntables are most common with a third less so: direct drive, belt drive and idler wheel. Record changer turntables are almost always driven by an idler wheel. No argument will be made here in favor of one over the other, just know that each uses a different method to generate power for platter rotation.
Your biggest concern with a turntable is accuracy of speed. If the table doesn’t have a stroboscope built in, you can print out a pattern and use it as a rough guide. Check out vinylengine.com for downloadable stroboscope patterns and vintage gear manuals if you’ve bought something you’re not familiar with. A slow or fast turntable can indicate both minor or severe malfunction. Sometimes a fix is simple, adjusting the pitch control to fine tune your speed to perfection. Other times, a table may require replacement parts or professional service. Buy cautiously and ask questions.
The next item to pay attention to is the cartridge, which is the piece at the end of the tone arm that houses the needle (also known as a stylus). Make sure the table has both of these parts – they can be separated. Also examine the needle to ensure it’s not bent horizontally; the needle should have some bend or angle vertically, known as the azimuth, so it can properly track the grooves in a record.
Connecting a turntable to the receiver is made with a right and left “RCA” type plug and a chassis ground wire. If not grounded, an audible hum can be heard in addition to your music. It’s pretty distinct, you should notice it. Turntables come with a ground wire, but they are thin and are often lost. Replacements can be purchased, but make sure you get the right wire for your table as some have proprietary connections.
Some equipment is internally grounded and no extra connections are required. The documentation for an item should say something to this matter, and for used gear, you’ll need to inquire. This is a popular DIY modification, so it won’t alway be apparent.
VinylEngine is the sister resource for manuals and documentation for vintage turntables.
Speakers
This bits pretty straightforward. A pair of speakers, one right, one left. Hook’em up and you should be ready to go. The only thing to take note of is the connection types on the speakers and the amplifier and the size (gauge) of the wire used. A general rule is to use at least an 18 gauge wire, but if the length of the wire is longer than 10 feet, consider a lower gauge (thicker) wire, 16 or 14 gauge. Lower gauge wires may be more difficult to connect to either the speakers or receiver. Thin speaker wire is most common, but modern components or some older equipment may feature RCA style jacks, which look like round pegs. Match the connectivity of components in order to avoid integrating splitters or adapters which disturb the signal path (sound quality).
Hooking it All Up
No matter what equipment you choose to run, know what you’re buying before you purchase it. Not everything works without a special part – perhaps an even discontinued/hard to find piece – that will really hurt your bank account. When things stop working, look for information before you attempt to repair the malfunction unless you are certain of the proper remedy. Every part of this listening format has it’s own peculiarities, so building a decent hifi setup is important if above above-average playback quality is the desired result.
Mix. Match. Enjoy.
Photo Credit: Chung Ho Leung via Compfight cc
Next Post:
Handle with Care
